
A Clear Step-by-Step Overview From Prep Work to Final Walkthrough
If you are planning exterior painting services, you can expect a clear process that starts with prep work, moves through repairs and paint application, and ends with a final inspection. A good project is not rushed. Your home is cleaned, protected, painted in stages, and checked for quality before the job is done. Knowing these steps helps you feel calm and ready from day one.
What You Need Before the Project Starts
Before work begins, a few things should be in place. First, colors need to be chosen and confirmed. Test patches are often helpful so you can see how the paint looks in sunlight. Next, the scope of work should be clear. This includes trim, doors, shutters, garages, and any needed repairs.
You should also:
- Move patio furniture and grills away from the home
- Trim bushes and tree branches near walls
- Close windows tightly
- Park vehicles away from the work zone
If you are also planning other home improvement services, schedule them in the right order. For example, roof or gutter work should happen before exterior painting services so fresh paint is not damaged.
The Step-by-Step Exterior Painting Process
Most exterior painting services follow a simple and proven order. Each step builds on the one before it.
- Inspection and prep: The crew checks siding, trim, and wood for damage. Loose paint is scraped off.
- Cleaning: Surfaces are power washed to remove dirt, mold, and chalky residue.
- Repairs: Small cracks, holes, or rotted spots are patched or replaced.
- Priming: Bare wood or repaired spots are primed for better paint bond.
- Masking and protection: Windows, landscaping, and walkways are covered.
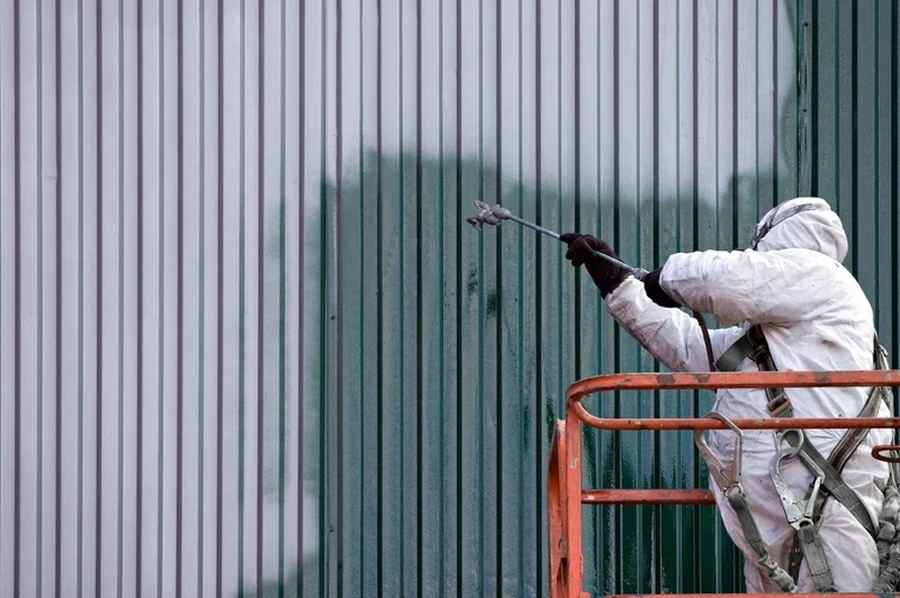
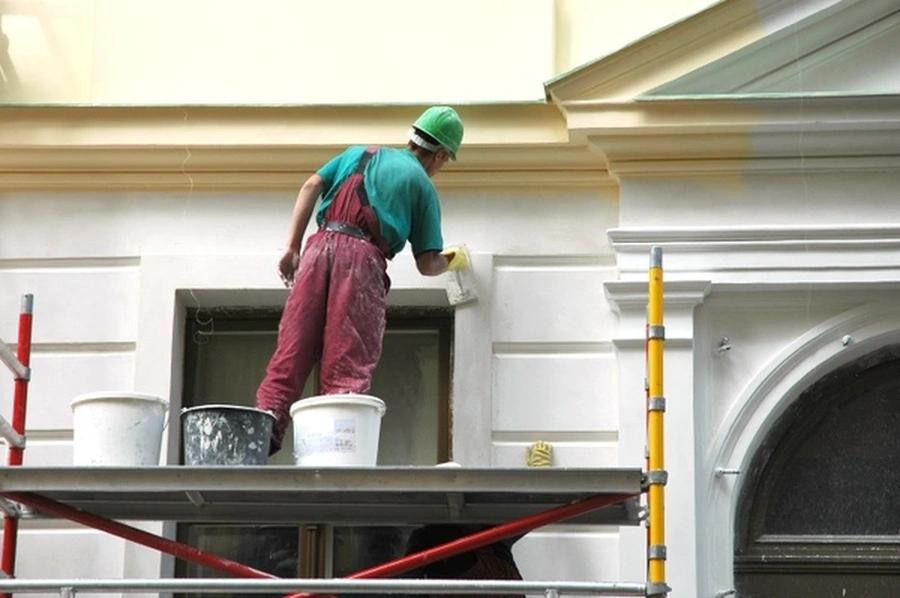
- Paint application: Paint is sprayed, rolled, or brushed depending on the surface.
- Final touch-ups: Missed spots are corrected and lines are sharpened.
- Cleanup and walkthrough: Drop cloths are removed and the site is cleaned.
Each stage matters. Skipping prep or rushing drying time can lead to peeling or early wear.
Common Mistakes to Avoid
Many issues happen before the first coat of paint goes on. One common mistake is ignoring surface damage. Paint does not fix rotten wood or cracked siding. It only covers it.
Another mistake is choosing the wrong paint type. Flat paint hides flaws but may not last as long. Satin or semi-gloss is easier to clean but shows surface bumps more clearly.
Weather timing is also key. Paint should not be applied in heavy wind, rain, or high humidity. Good exterior painting services plan around the forecast and adjust when needed.
Some homeowners try to rush the color choice. Take your time. Look at samples at different times of day. Morning light and evening light can change how a color looks.
When to Call a Professional
A small shed or fence may be a simple weekend project. But full exterior painting services for a house often need skill and proper tools. Two-story homes, steep roof lines, and damaged wood increase the risk.
You may want professional help if:
- Your home has peeling paint in many areas
- You see signs of wood rot
- You do not have ladders or spray equipment
- You want long-lasting, even coverage
- Your schedule does not allow several days of work
Professionals also know how to protect landscaping and nearby surfaces. Clean lines around trim and windows take steady hands and practice.
Final Thoughts and Next Steps
If you are thinking about exterior painting services in Wichita Falls, TX, I can walk you through each step and answer your questions so you know exactly what to expect. At Jim and Sons Home Repairs, I focus on careful prep, clear communication, and clean results from start to finish. If you would like to talk about your project or set up a time to meet, call me at (940) 209-6220 and I will be glad to help.