
How to Get Flat, Even Walls That Are Ready for Paint
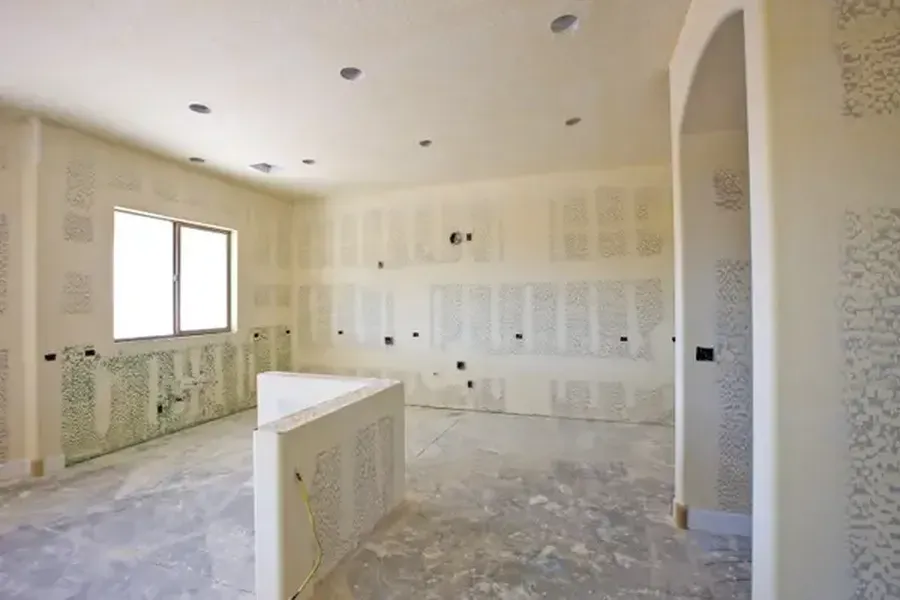
The key to smooth walls is simple: plan well, hang panels the right way, and take your time with seams. good sheetrock installation tips for smooth wall finishes focus on tight joints, proper fastening, and careful sanding. if you rush the prep work, you will see bumps and lines after paint. when done right, your walls look flat, clean, and ready for any color.
What You Need Before Starting
Before you begin sheetrock installation, gather the right tools and materials. Having everything close by saves time and helps you stay focused.
- Drywall panels sized for your space
- Drywall screws and a drill
- Tape measure and level
- Utility knife
- Joint tape
- Joint compound
- 6-inch and 12-inch taping knives
- Sanding block or pole sander
It also helps to check the wall studs first. Make sure they are straight and spaced correctly. Crooked framing will lead to uneven walls, no matter how careful you are later.
Step-by-Step Process for Smooth Results
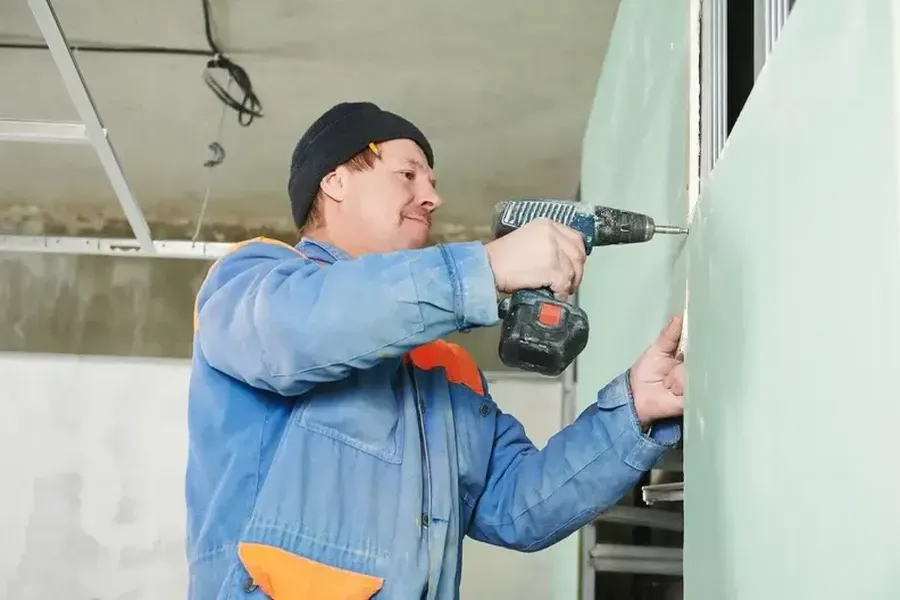
Follow these steps to improve your sheetrock installation and get a better finish:
- Measure and cut carefully. Score the panel with a utility knife, snap it along the line, then cut the back paper. Clean edges fit tighter.
- Hang panels horizontally when possible. This reduces the number of seams and makes finishing easier.
- Secure with proper screw spacing. Place screws about 12 to 16 inches apart. Sink them just below the surface without tearing the paper.
- Apply joint tape over seams. Press it flat so there are no bubbles.
- Add the first coat of joint compound. Spread it evenly and thin. Let it dry fully.
- Sand lightly between coats. Knock down ridges, but do not sand into the tape.
- Apply second and third coats. Use a wider knife each time to feather edges out for a smooth blend.
Take your time during the finishing stage. Most wall flaws come from poor mudding and sanding, not from hanging the panels.
Common Mistakes to Avoid
Even small errors can show through paint. Watch out for these issues:
- Driving screws too deep and breaking the surface paper
- Leaving gaps between panels wider than 1/8 inch
- Using too much joint compound at once
- Skipping sanding between coats
- Painting before the surface is fully dry and dust-free
Another common mistake is ignoring lighting. Shine a work light across the wall at an angle. This will show bumps and dents you might not see in normal light. Fixing them before primer saves time later.
When to Call a Professional
Some projects are harder than they look. High ceilings, curved walls, and large open rooms can make sheetrock installation more complex. Large repairs after water damage also take skill to blend old and new surfaces.
If you notice waves in the framing or uneven ceiling joists, finishing alone will not fix the issue. A trained drywall expert knows how to correct these problems before they show through paint. This is especially true for detailed work tied to , where surface quality makes a big difference in the final look.
Hiring help can also save time if you are on a tight schedule. Smooth wall finishes require patience and steady hands.
Final Thoughts and Local Help
If you want smooth, paint-ready walls in Wichita Falls, TX, I can help with careful prep, precise sheetrock installation, and detailed finishing work. At Jim and Sons Home Repairs, I handle each project myself and focus on clean results that last. Call (940) 209-6220 to talk about your space and how I can make your walls look their best.